Prepare, Light, Setup, Focus and Zoom. Five basic microscope steps to get you jump started to becoming a pro in no time. Once you have your specimen, and your light ready to go, you just setup your microscope and get focused. You can then iteratively increase the zoom power and get up close to your sample, and see the whole microscopic world!
TABLE OF CONTENTS:
Step 1: Prepare
Depending on whether you already have purchased prepared slides to look at or whether you want to make your own sample, the first step is deciding what you want to view under the microscope. If you already have prepared slide from a microscope slide kit, you can skip onto Step 2.
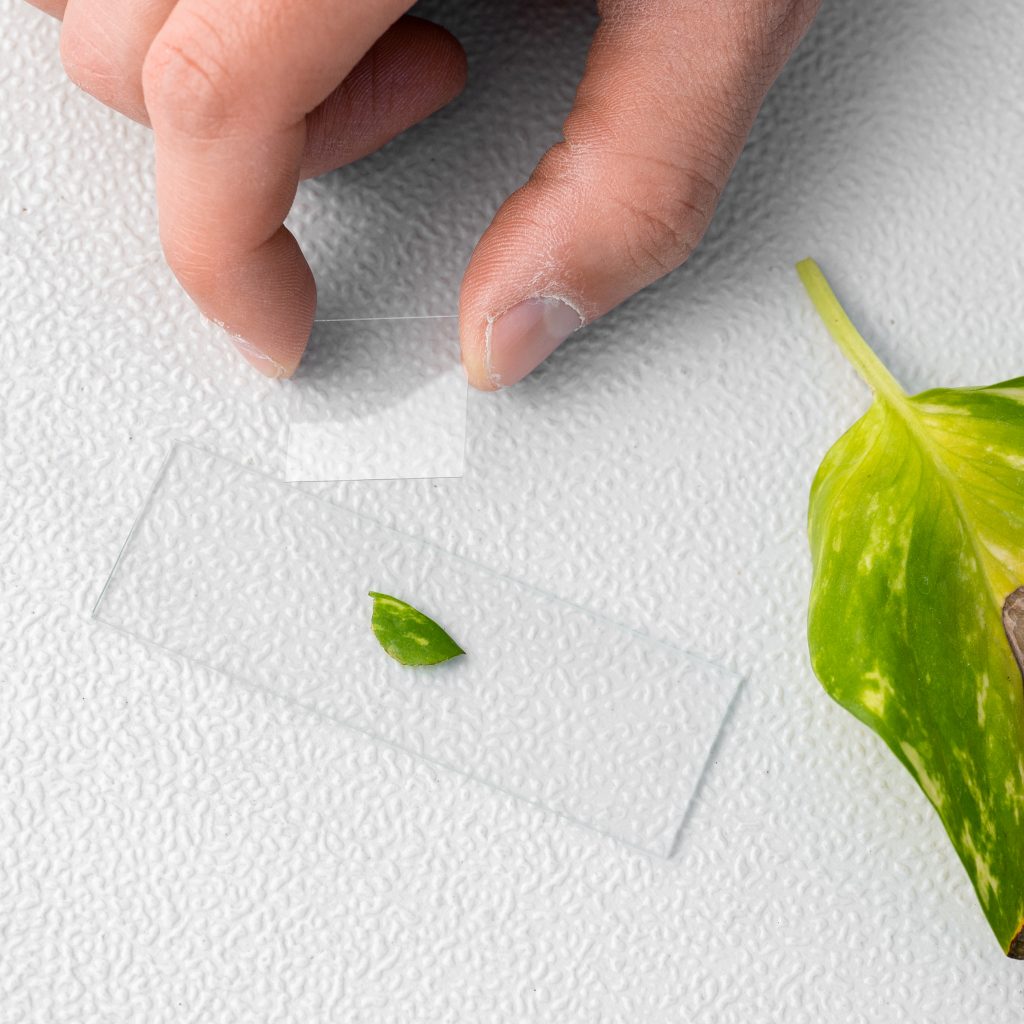
If you wish to prepare a custom specimen, continue with this step. You will need a small container of water and a pipette or eye dropper. There are two methods, depending if you have a dry or wet specimen. The main difference is that you let the dry specimen dry before viewing, whereas a wet specimen such as pond water you want to look at immediately so you can see the live microorganisms swimming around!
To make custom slides with dry specimens:
1. Use a fresh slide or clean slide with a microfiber cloth to remove fingerprints and dust.
2. Place a few dry granules of your choice (salt, soil, a strand of hair,, etc.) on blank slide
3. Using included eye dropper, put a drop of water on top of specimen to hold in place. Gently place coverslip on top of specimen and let dry before viewing.
To make custom slides with wet specimens:

1. Use a fresh slide or clean slide with a microfiber cloth to remove fingerprints and dust.
2. Sprinkle a drop of algae, pond, or dirty water, etc. on blank slide. Place coverslip on top of specimen. No additional drop of water is needed. View immediately.
Step 2: Light
This stage of microscope use reviews how to get your lighting and illumination setup for your microscope. We will review how to power on the light source and turn up the light intensity all the way.
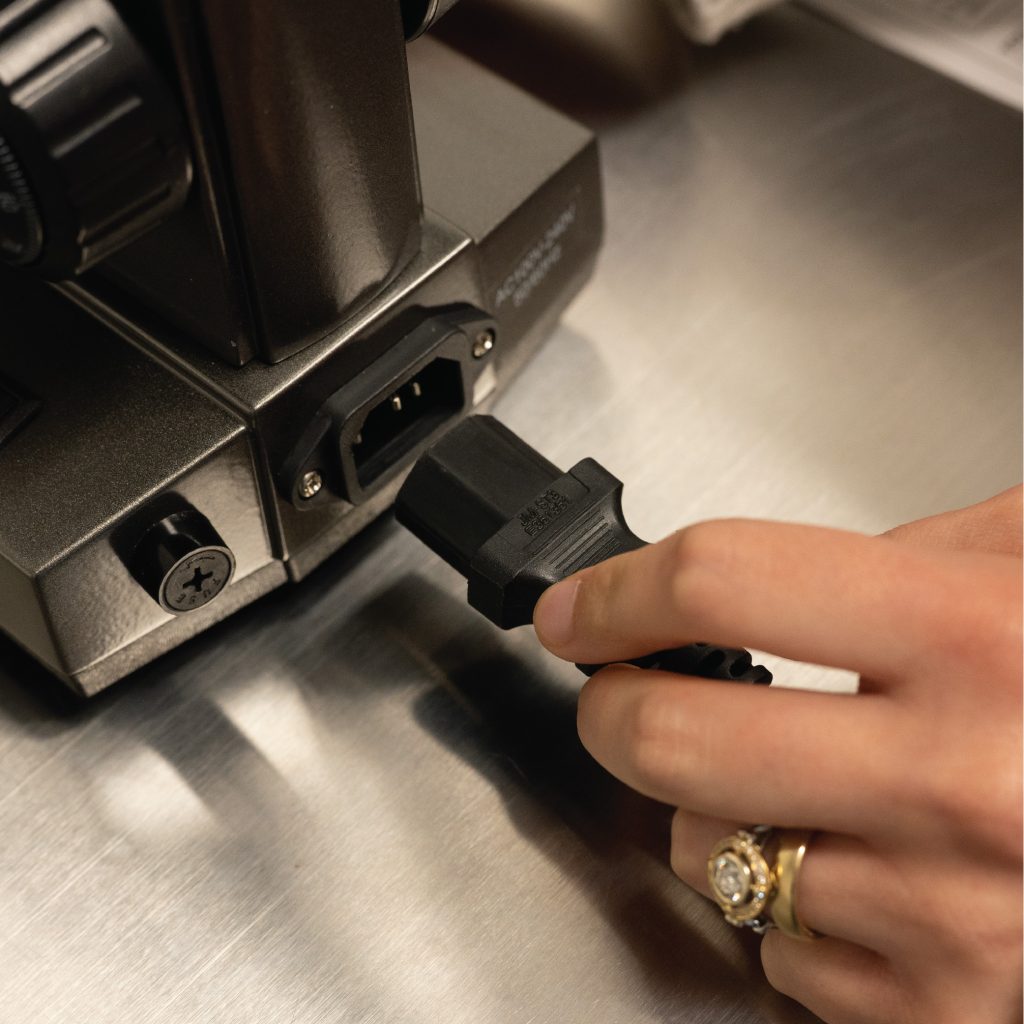
Place microscope on a stable surface. Insert the end of the power cord into the microscopes power port and plug the opposite end into any standard outlet. Turn on light source by turning the power switch to the on position.


Find the light intensity dial on the side of the microscope and start with it all the way to the maximum. You may also want to open up the iris diaphragm to the maximum also, so you can start with the most light and then you can adjust from there. Not sure, what is the iris diaphragm of a microscope? We have another video just on that topic.
Please note, the condenser is preset to be 1-3mm from bottom of specimen slide. Although the condenser height can be adjusted with knob, we recommend leaving it at factory setting. Adjust condenser height only when absolutely necessary.
Step 3: Setup
This step reviews how to setup your microscope by installing the eyepieces and slide onto the stage.
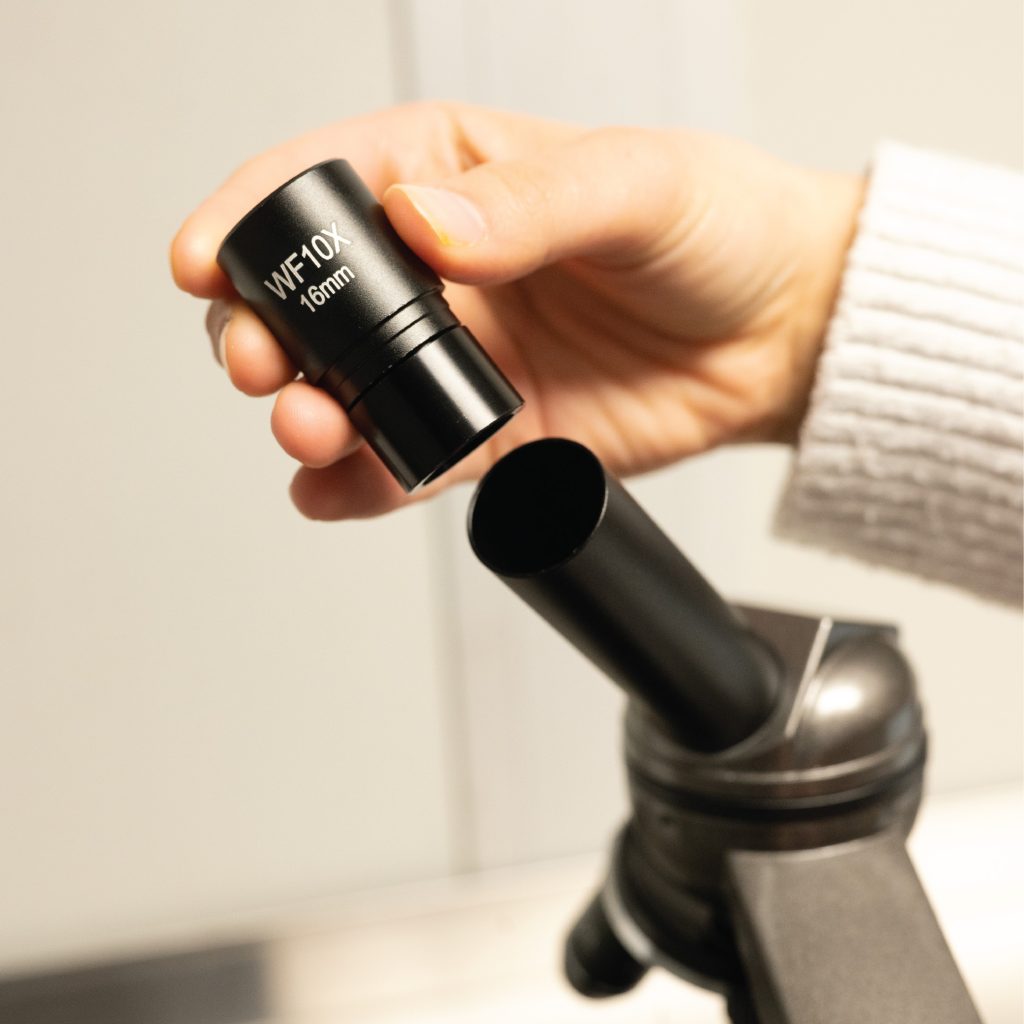
Place eyepiece in the draw tube. You may have to remove any tube covers or caps beforehand, set them aside and don’t lose them! You always want to make sure your drawtube is capped or has an eyepiece in it, otherwise dust and debris will get deep inside your microscope components.
If you have multiple eyepieces, always start with the lowest power ones first. You can switch later after all these steps, but its easier to learn to focus at the lowest power first.
If you have a binocular microscope, you may have two eyepieces to install, just repeat the same step.
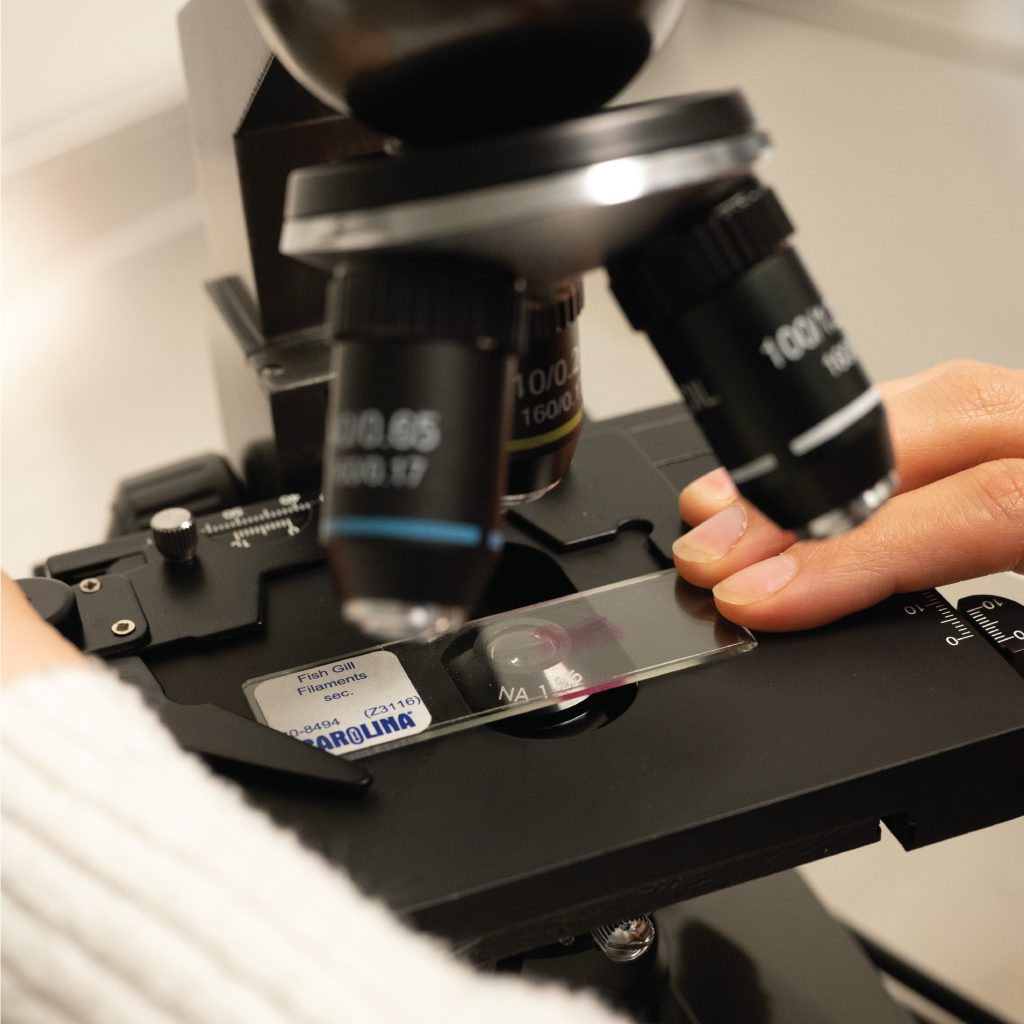
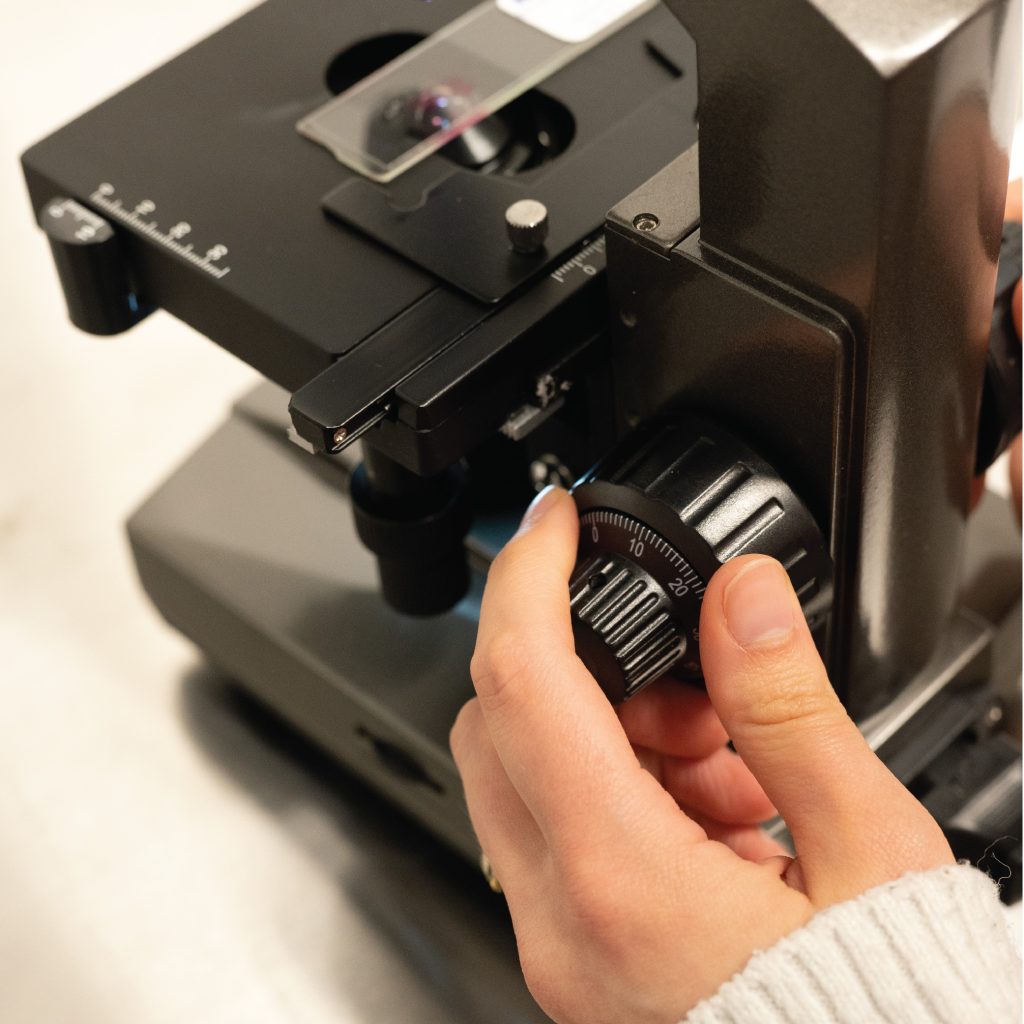
Position slide on the mechanical stage and secure with side clip. Use the stage knobs to move front-back (top knob) and left-right (lower knob) until area of interest is centered on stage. Make sure the light is centered on your area of interest before going on to the next step.
Step 4: Focus
This step reviews how to properly focus your microscope. This can be the trickiest step if you haven’t ever tried to focus optics before, so be careful and go slowly.
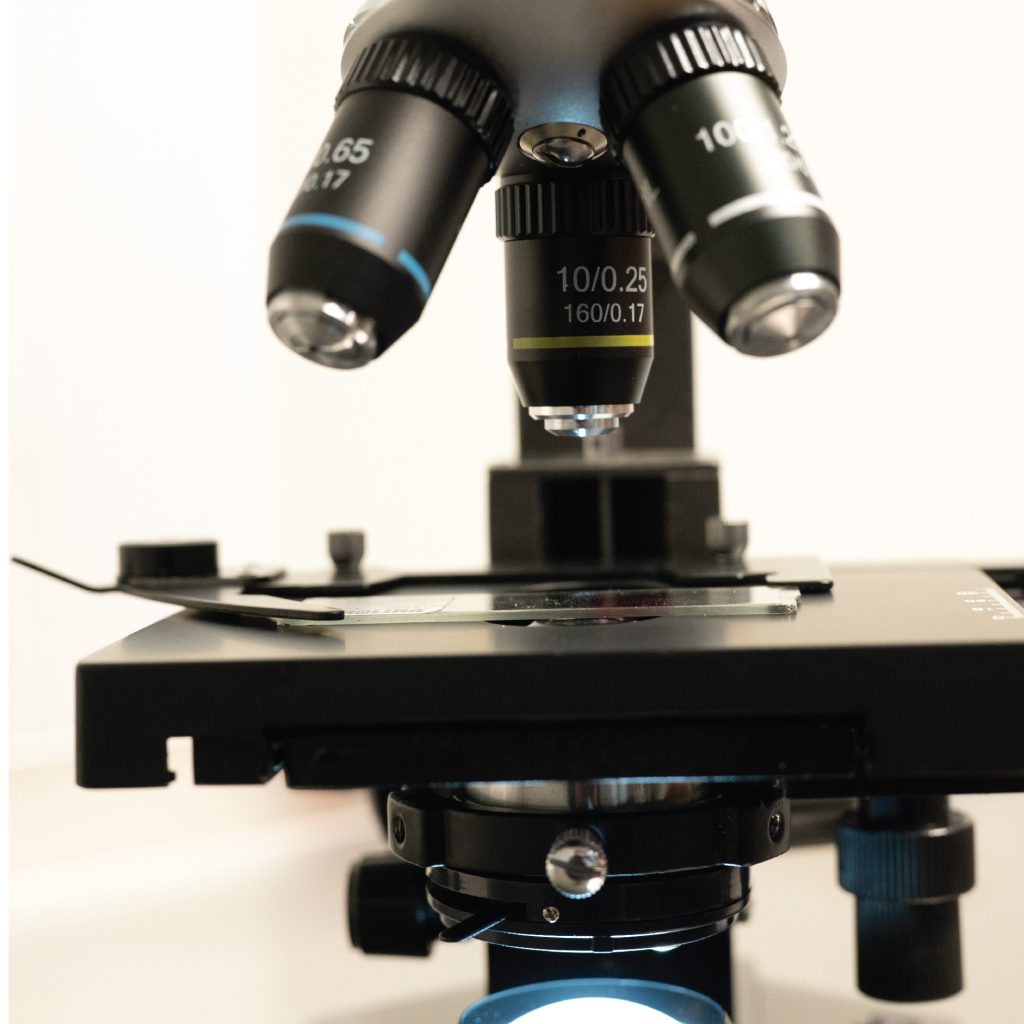
Rotate turret so that the lowest power objective lens (always begin with lowest power) is directly above specimen. Make sure it fully clicks into place and is perpendicular to the stage or you won’t be able to see an image.
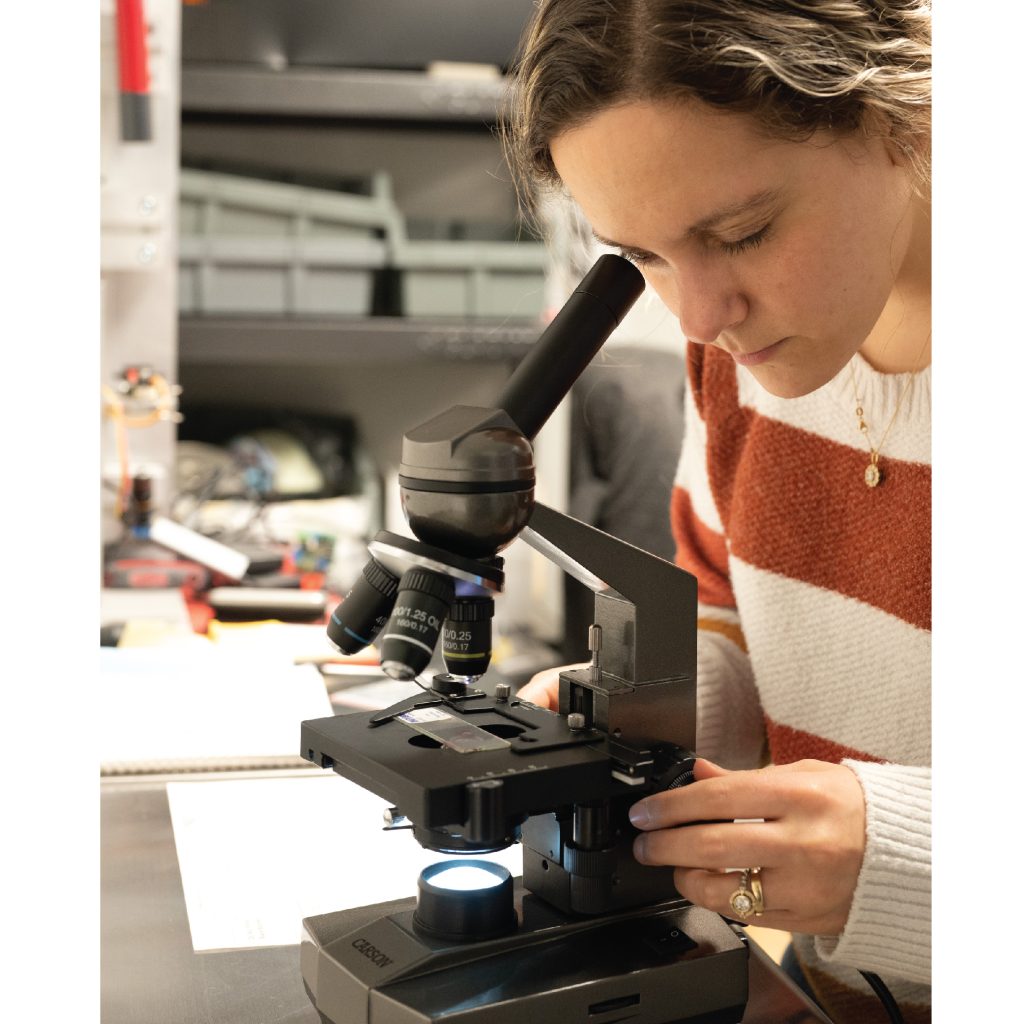
Look into eyepiece and you should see a white or defocused image.
Slowly adjust the coarse focus knob to find image. Then focus with the fine focus knob, turning very slowly until the area of interest is sharp and clear.
Warning: when focusing, be careful that the objective lens does not crush the glass slide. The focusing mechanism has no stop to prevent this, so turn the focus knobs slowly and check where the objective lens is periodically relative to the microscope slide. Otherwise, if you crash into the slide and it breaks, this can cause damage to the objective lens, condenser and destroy your slide.
The condenser adjustment knob can be confused with the focus knob so be careful which one you rotate. Please note, the condenser is preset to be 1-3mm from bottom of specimen slide. Although the condenser height can be adjusted with knob, we recommend leaving it at factory setting. Adjust condenser height only when absolutely necessary.
To achieve the best image quality and maximum contrast, adjust intensity and/or diaphragm, and then refocus again until you get the perfect image.
Step 5: Zoom
In this step, we review how to calculate the total magnification of a microscope, and how to increase the magnification or zoom by using the higher powered objective lenses. You always want to start at the lowest magnification and step up one power at a time. If you jump from the lowest to the highest, it’s much harder to figure out where to focus. Between these “parfocal” objectives there is a slight adjustment in focus only.
To change magnification, rotate the turret so that the desired objective lens is directly above specimen. Refocus as needed, where only slight turns of the fine focus knob should be needed.
The 100x objective is only designed for oil immersion microscopy, wherein the specimen and objective lens are coated with immersion oils (not included with microscopes and generally sold separately). We have another video on just oil immersion technique to explain this further, otherwise without the oil the 100x objective will not work properly and you won’t be able to focus.
 OPTICS UNIVERSITY
0 comments on “How to use a microscope?”